Key points
- Every GOINGMAKE miter gauge rides in a 3/8 x 3/4 in miter slot, whether the slot is T-shaped or a plain U.
- Match the fence to the saw: 12 and 14 in fences for jobsite and benchtop saws, 18 in and longer for contractor, hybrid and cabinet saws.
- Positive angle stops repeat a 45, 30 or 22.5 degree cut without your eye judging a line on the scale.
- Four of our gauges carry a flip stop that moves in 0.001 in steps under a magnifier, for parts that must match.
- OSHA advises against crosscutting long boards on a table saw, so a long fence is for wide panels, not long boards.
Measure the slot before anything else
Lift the old miter gauge out of your saw and measure the empty slot across its top and down to its floor. A standard slot reads 3/4 in wide and 3/8 in deep, and every GOINGMAKE miter gauge is built for that size. Some saws cut the slot with an undercut lip, called a T-slot, while others leave straight walls, a U-slot. Our bars ride in both shapes.
Side play in the slot is what spoils a square cut. A bar that rocks slightly left at the start of a pass and slightly right at the end leaves a cut out of square across a wide board. Every bar in our range carries adjusters for that play. Most of the gauges use rings along the bar, and the Professional, Compact and Portable gauges put adjusters at the front, middle and end. Turn them until the bar slides without any sideways movement, then leave them alone.
Look at the saw itself before you trust any gauge. If the blade runs out of parallel with the slot, a perfectly fitted bar still feeds the board into a blade set at an angle. Our table saw dial indicator rides in the same 3/4 in slot and reads to 0.01 mm. It measures blade to slot and rip fence to slot, so the saw gets squared first and the gauge second.
Match the fence to your saw and your widest crosscut
Fence length is a trade between reach and room. A long fence supports a wide panel all the way past the blade. On a small jobsite saw, though, it hangs well beyond the table and gets in the way when the saw goes back in the truck. A short fence packs away with the saw and handles the trim, shelves and short parts that make up most crosscuts on a portable saw.
Our nine gauges run from a 12 in fence on the smallest to the Professional, whose 19.5 in fence telescopes to carry 36 in of crosscut. Find your saw or your job in the right-hand column and read the fence length off that row.
| Gauge | Fence | Miter bar | Angle stops | Drawn for |
|---|---|---|---|---|
| Small Miter Gauge, 12 in Fence | 12 in aluminum | 12 in, adjustable rings | 11 positive stops | Portable jobsite table saws |
| Small Miter Gauge, 12 to 21 in | Extends 12 to 21 in | 12 in, adjustable rings | 11 positive stops | Jobsite saws with a short table |
| Compact Miter Gauge, 14 in Fence | 14 in (360 mm) aluminum | 14 in, adjusters front, middle and end | 11 positive stops | Benchtop saws and short parts |
| Compact Miter Gauge, 14 to 24 in | Extends 14 to 24 in | 14 in, adjustable rings | 11 positive stops | Small shops that still cut the odd wide board |
| Portable Miter Gauge, 18 in Fence | 18 in (460 mm) aluminum | 14 in, adjusters front, middle and end | 11 positive stops | Contractor and hybrid saws |
| Miter Gauge with 18 in Fence | 18 in extruded aluminum | 4 adjustable rings | 13 stop holes, push-button lock | Everyday crosscuts and repeat parts |
| Extendable Miter Gauge, 18 to 32 in | Extends 18 to 32 in | 4 adjustable rings | 13 stop holes, push-button lock | A full-size cabinet saw |
| Long Fence Miter Gauge, 21 to 38 in | Extends 21 to 38 in | 4 adjustable rings | 13 stop holes, push-button lock | Crosscutting wide panels |
| Professional Miter Gauge | 19.5 in, telescoping to 36 in of crosscut | Adjusters front, middle and end | 11 positive stops | Cabinet shops cutting long panels all day |
If you own a portable jobsite saw and rarely cut anything wider than a shelf, start with the 12 in gauge. The 12 to 21 in version adds a telescoping fence for the odd wide board without making the gauge any harder to store. On a full-size cabinet saw, look first at the 18 to 32 in fence, which we built for exactly that saw.
Positive angle stops for the angles you cut most
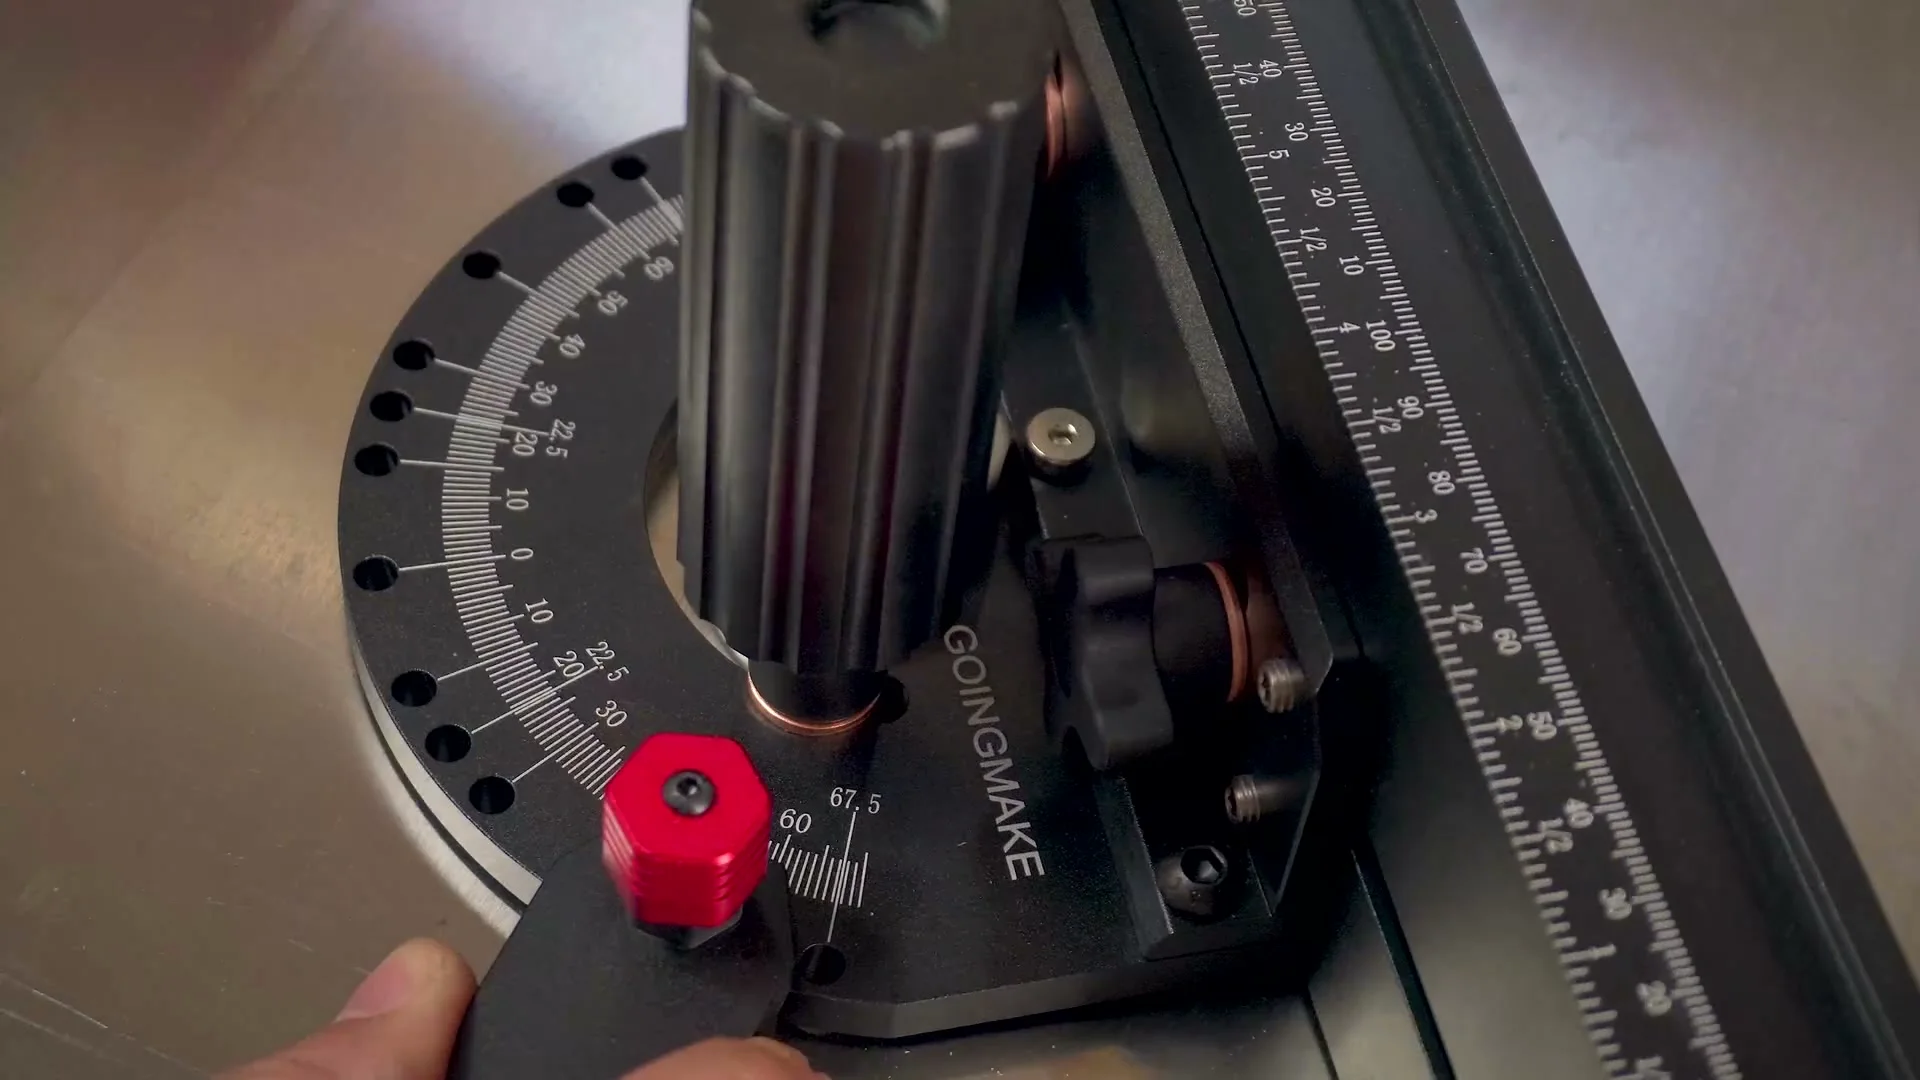
Most frames and boxes come back to the same handful of angles. The four corners of a picture frame want 45 degrees, a six-sided frame wants 30, and an eight-sided one wants 22.5. A positive stop is a hole or a detent at each of those settings: the head drops into it, you lock the handle, and the cut repeats without anyone reading a hairline.
Six of our gauges carry 11 positive stops, at 90, 60, 45, 30, 22.5, 15 and 0 degrees and their mirror angles on the other side. Any angle between the stops, from -60 to 60 degrees, reads off the laser-engraved scale. The 18 in gauge and the 32 and 38 in telescoping gauges use 13 stop holes with a push-button lock instead. Pull the button up, turn the head, and the pin finds its hole. Those three reach 67.5 degrees to either side.
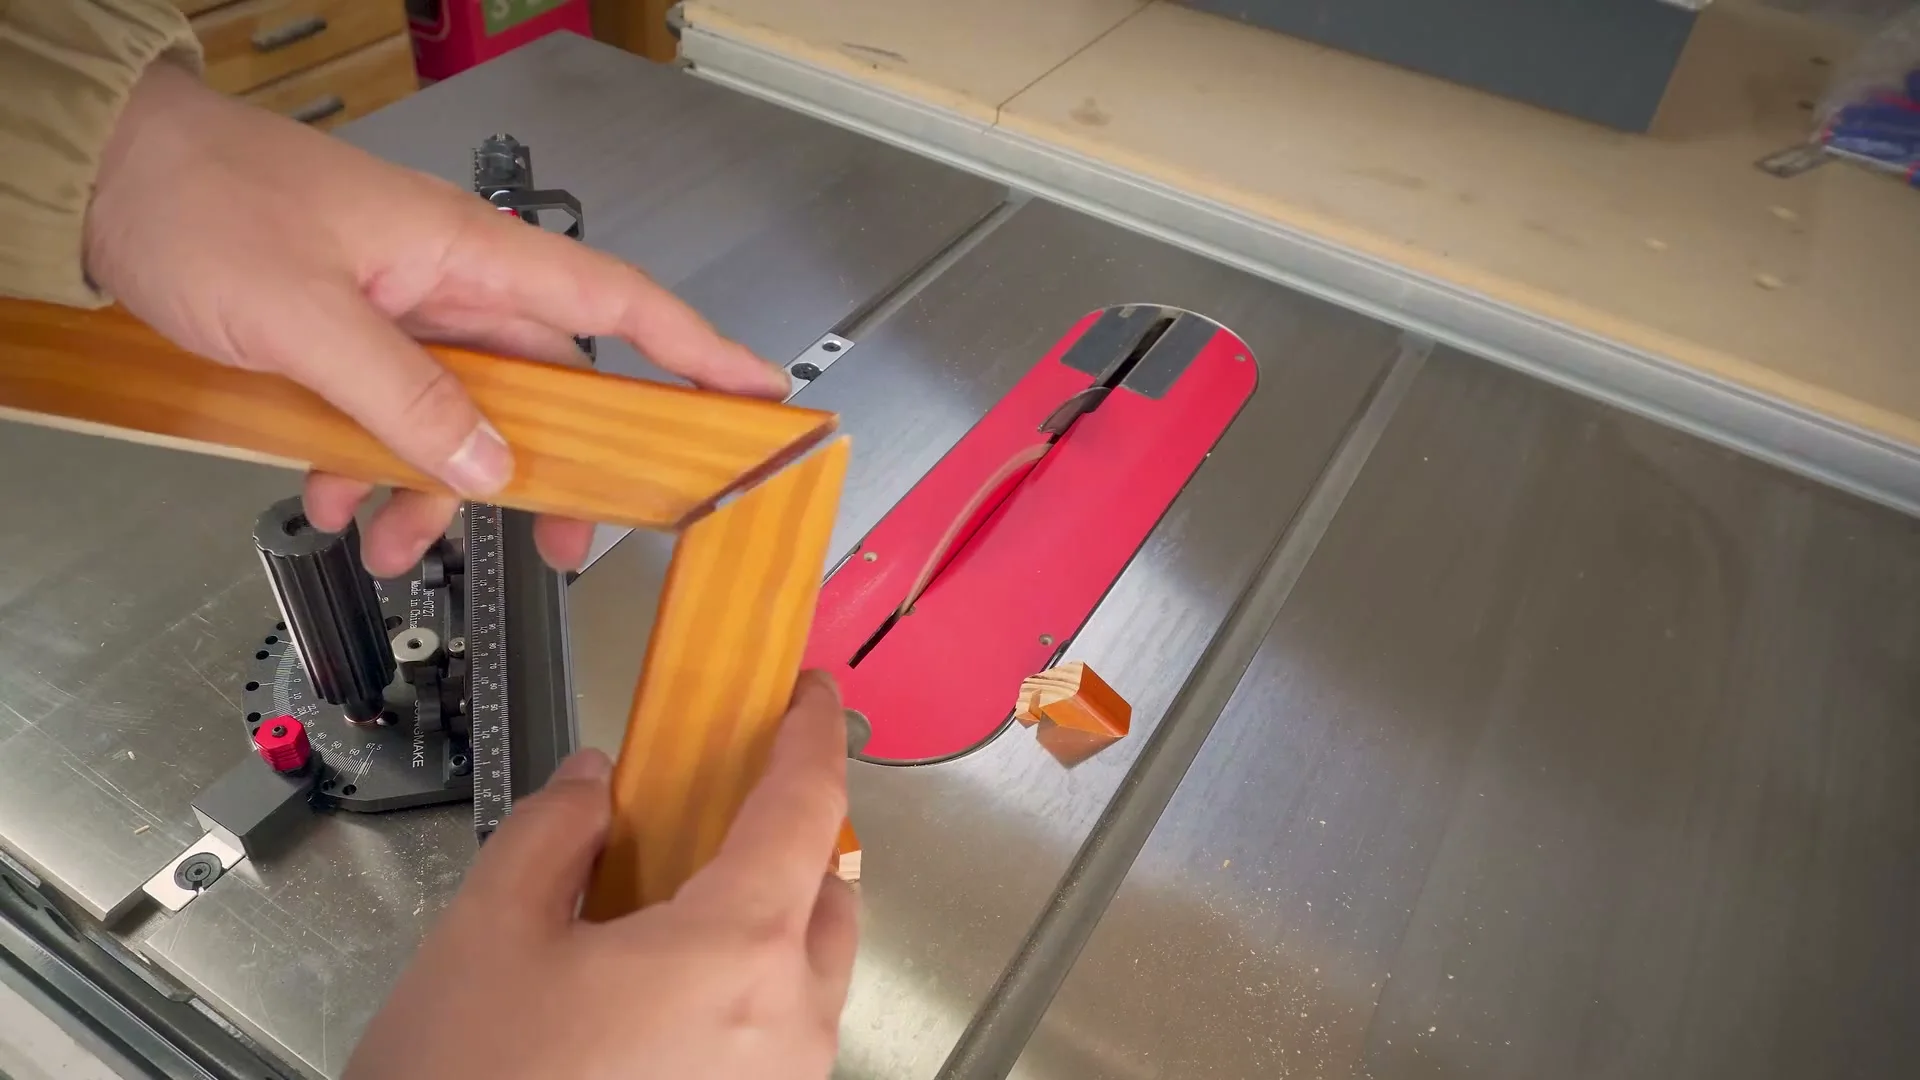
Test a stop the first time you use it. Cut a scrap at 45 degrees, flip one half over and set the two cut ends against a square: any gap at the heel or the toe shows the error doubled. Our squares and marking tools include a 6 x 7.5 in carpenter square for that check, with angle pins at 22.5, 30, 45, 60, 67.5 and 75 degrees for marking.
Flip stops and repeat parts
A flip stop turns the fence into a ruler you set once. Lock it at the length you need, butt each board against it and cut, and every part in the stack comes off the same. Flip it up, and the next board gets its end squared without disturbing the setting.
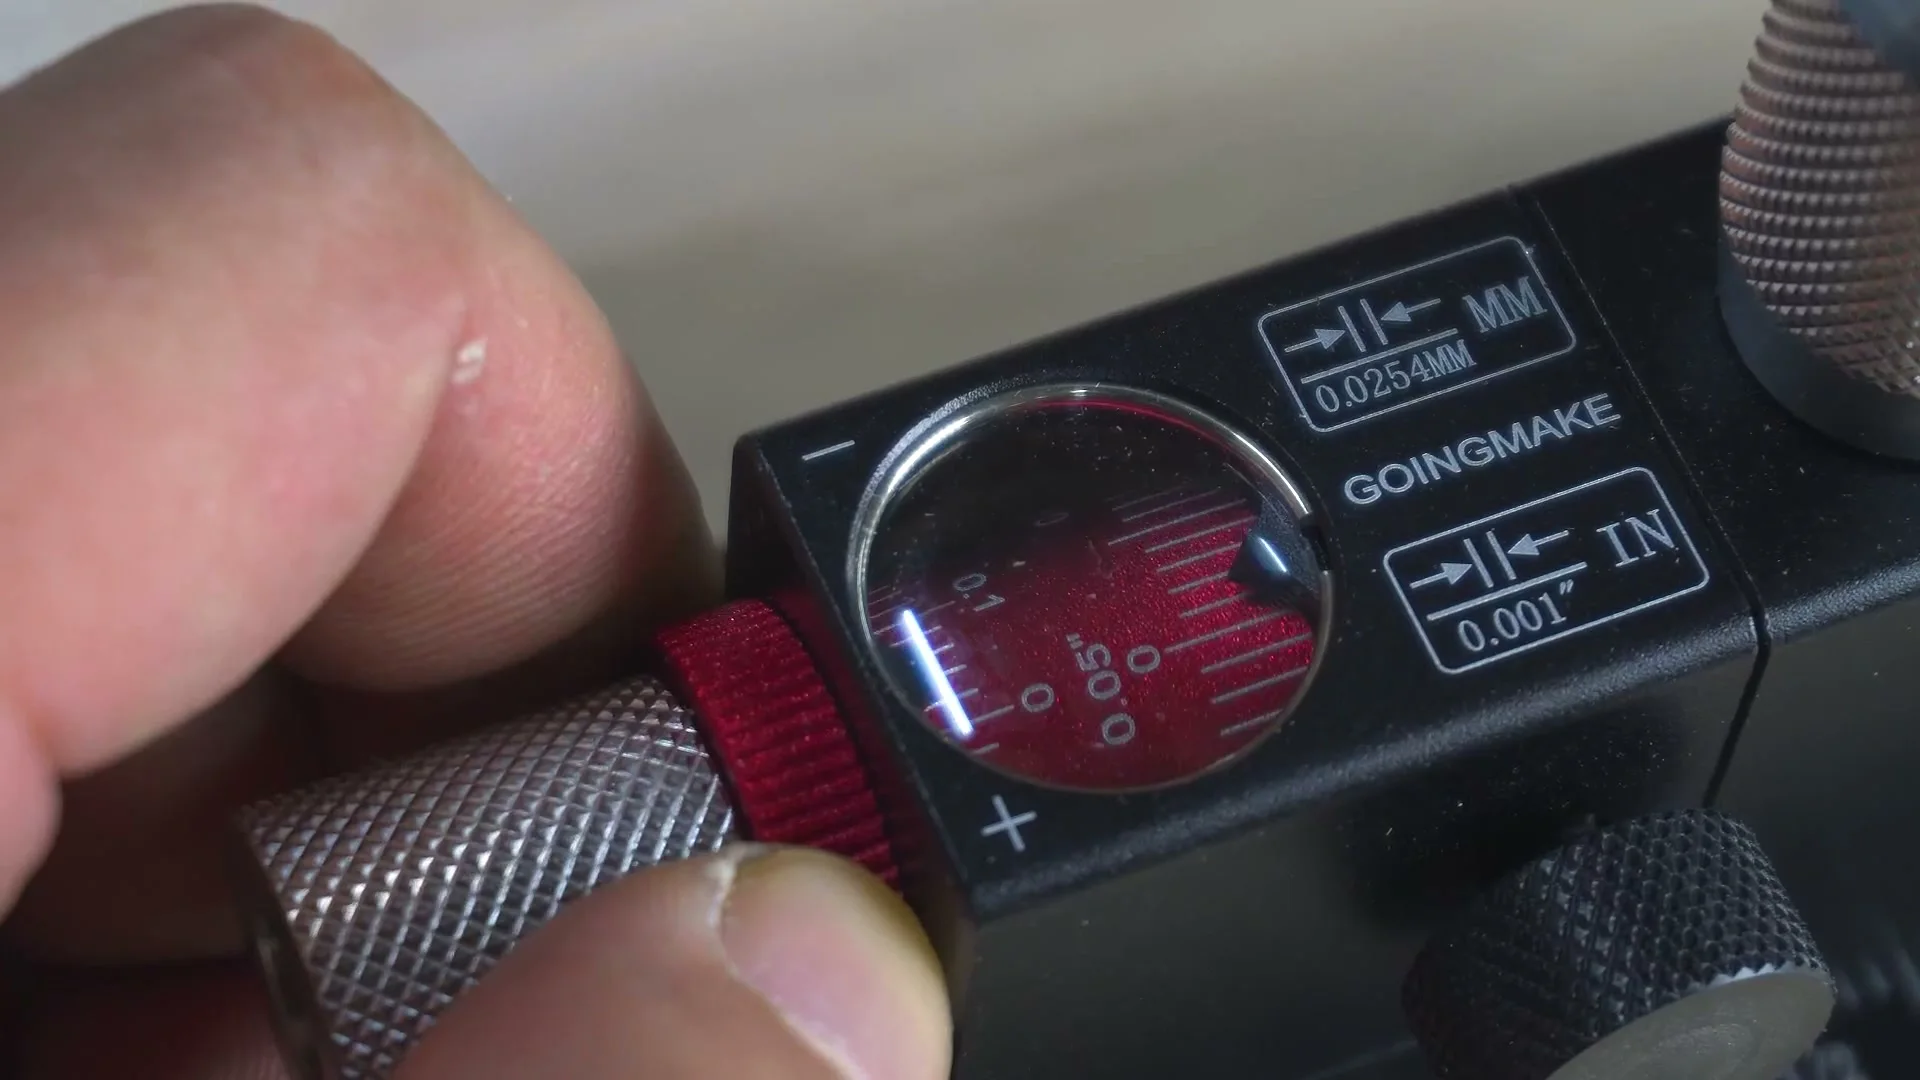
On the Professional and on the 18, 32 and 38 in gauges, the stop moves in steps of 0.001 in, with a magnifier over the scale. That fine knob earns its place when a dry fit shows a door rail a hair long: you dial in the correction rather than tapping the stop with a mallet. A locating pin lets the stop register an angled end as well as a square one, so mitered parts repeat too.
Zero the stop before you trust the scale. On the Professional, slide the fence until it sits 1 to 3 mm from the blade and bring the stop over to touch the blade. Then turn the zero-calibration knob until the pointer reads 0. From then on the fence scale reads the length of the part, and the tape measure stays in your apron.
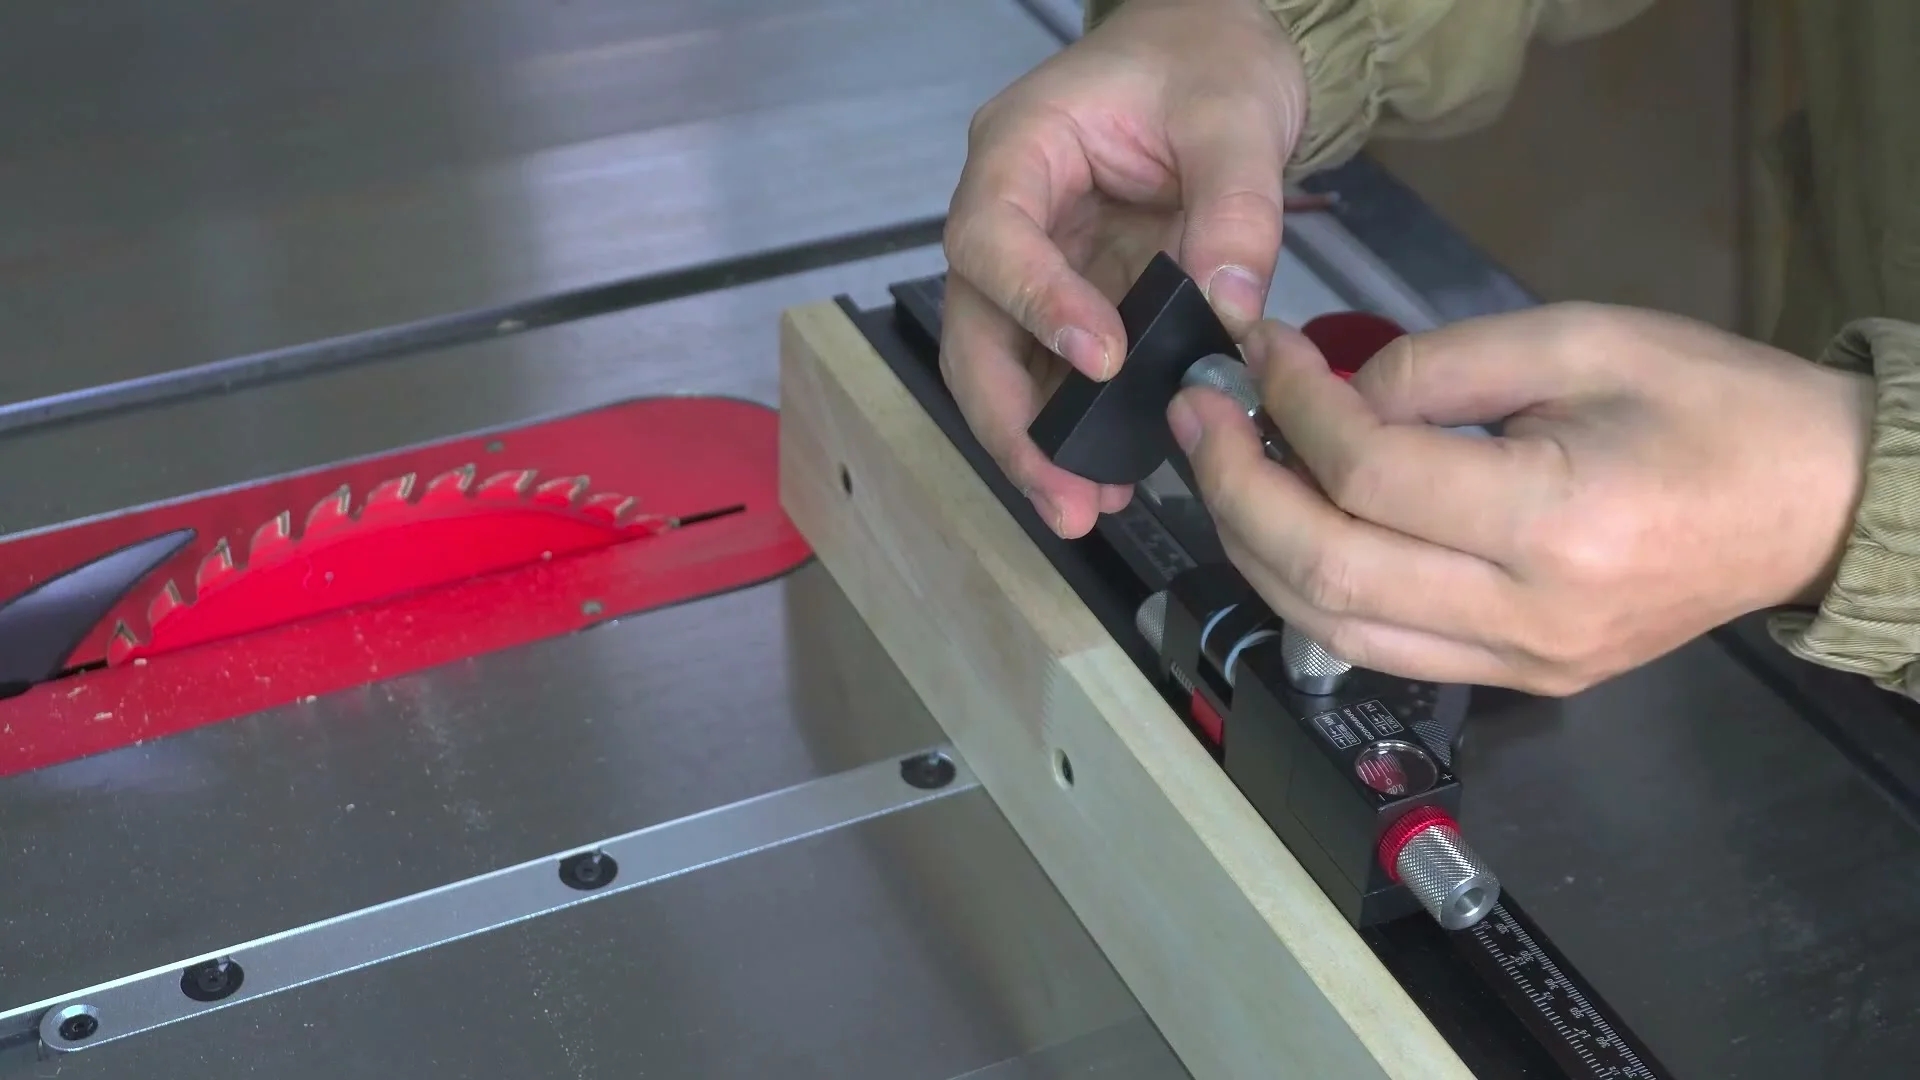
On the telescoping fences the scale carries over onto the extension. On the 18 to 32 in gauge, lock the flip stop on the 16 in mark of the main fence. The length is then set on the matching 16 in scale of the extension bar. A long part is then read straight off the fence rather than measured and added up.
What a long fence is for, and what it is not
OSHA's woodworking eTool for table saws advises against crosscutting long boards on a table saw and tells you to support every piece. A long fence leaves that advice exactly where it was. It is built for wide panels, such as a cabinet side or a drawer bottom. There the gauge carries the panel straight past the blade while your hands stay on the gauge and out of the line of the cut.
Long boards are a different job. An eight-foot board on a miter gauge swings like a gate, catches at the far end and pulls the gauge out of line. Cut that kind of stock to rough length with a miter saw or a circular saw on supports, then bring the shorter parts to the table saw for the final square cut. If full sheets of plywood are the problem, a track saw with a parallel guide does the ripping, and our guide to thin strips and repeat rips walks through that setup.
Support the panel on the outfeed side as well. A wide panel that tips off the back of the table at the end of the cut can bind against the blade and lift the gauge. Set up an outfeed table or a roller stand before the first board goes through.
Your hands, the blade and the federal record
The same OSHA eTool says table saw injuries happen when the hands slip while feeding stock or are held too close to the blade. It calls kickback, the blade catching the stock and throwing it back toward the operator, a major cause of injury, more likely when ripping than when crosscutting. Its answers are plain. Keep your hands out of the line of the cut, use a push stick for small pieces, stand to the side of the blade, and run the saw with a spreader and anti-kickback fingers.
The U.S. Consumer Product Safety Commission put numbers on the outcome. In a 2023 notice it estimated 26,500 emergency department-treated blade-contact injuries in 2017, 96.4 percent of them to the finger, among them about 2,800 amputations. Since January 2010 the voluntary standard has required new saws to carry a modular guard and an anti-kickback device attached to a riving knife, and the Commission wrote that the injury data suggested no reduction.
That notice proposed a rule requiring saws to limit a cut to 3.5 millimeters when a test probe approached the spinning blade at 1 meter per second. On September 29, 2025, the CPSC withdrew the proposal, said it did not intend to issue a final rule and said any future action would start with a new proposed rule. There is no such federal rule for saws today.
No miter gauge, ours included, makes a table saw safe. A well-fitted gauge holds the board square while your hands stay on its handle, and the guard, the riving knife and where you stand stay your part of every cut.
Choose your gauge in three steps
Three measurements settle most of the choice, and each one takes a minute at the saw.
- Measure the slot. A slot 3/4 in wide and 3/8 in deep takes every gauge in our miter gauge collection.
- Name your saw. Portable jobsite saws take the 12 in gauges, benchtop saws the 14 in, contractor and hybrid saws the 18 in Portable, and full-size cabinet saws the 18 to 32 in.
- Name your widest crosscut. Panels past 24 in call for the 21 to 38 in fence or the Professional Miter Gauge, which carries 36 in.
If two gauges still look equal, open our miter gauge finder and set them against your saw and your fence length in one place.
Each jig above is in the GOINGMAKE range, with its price and box contents on its own page.