Key points
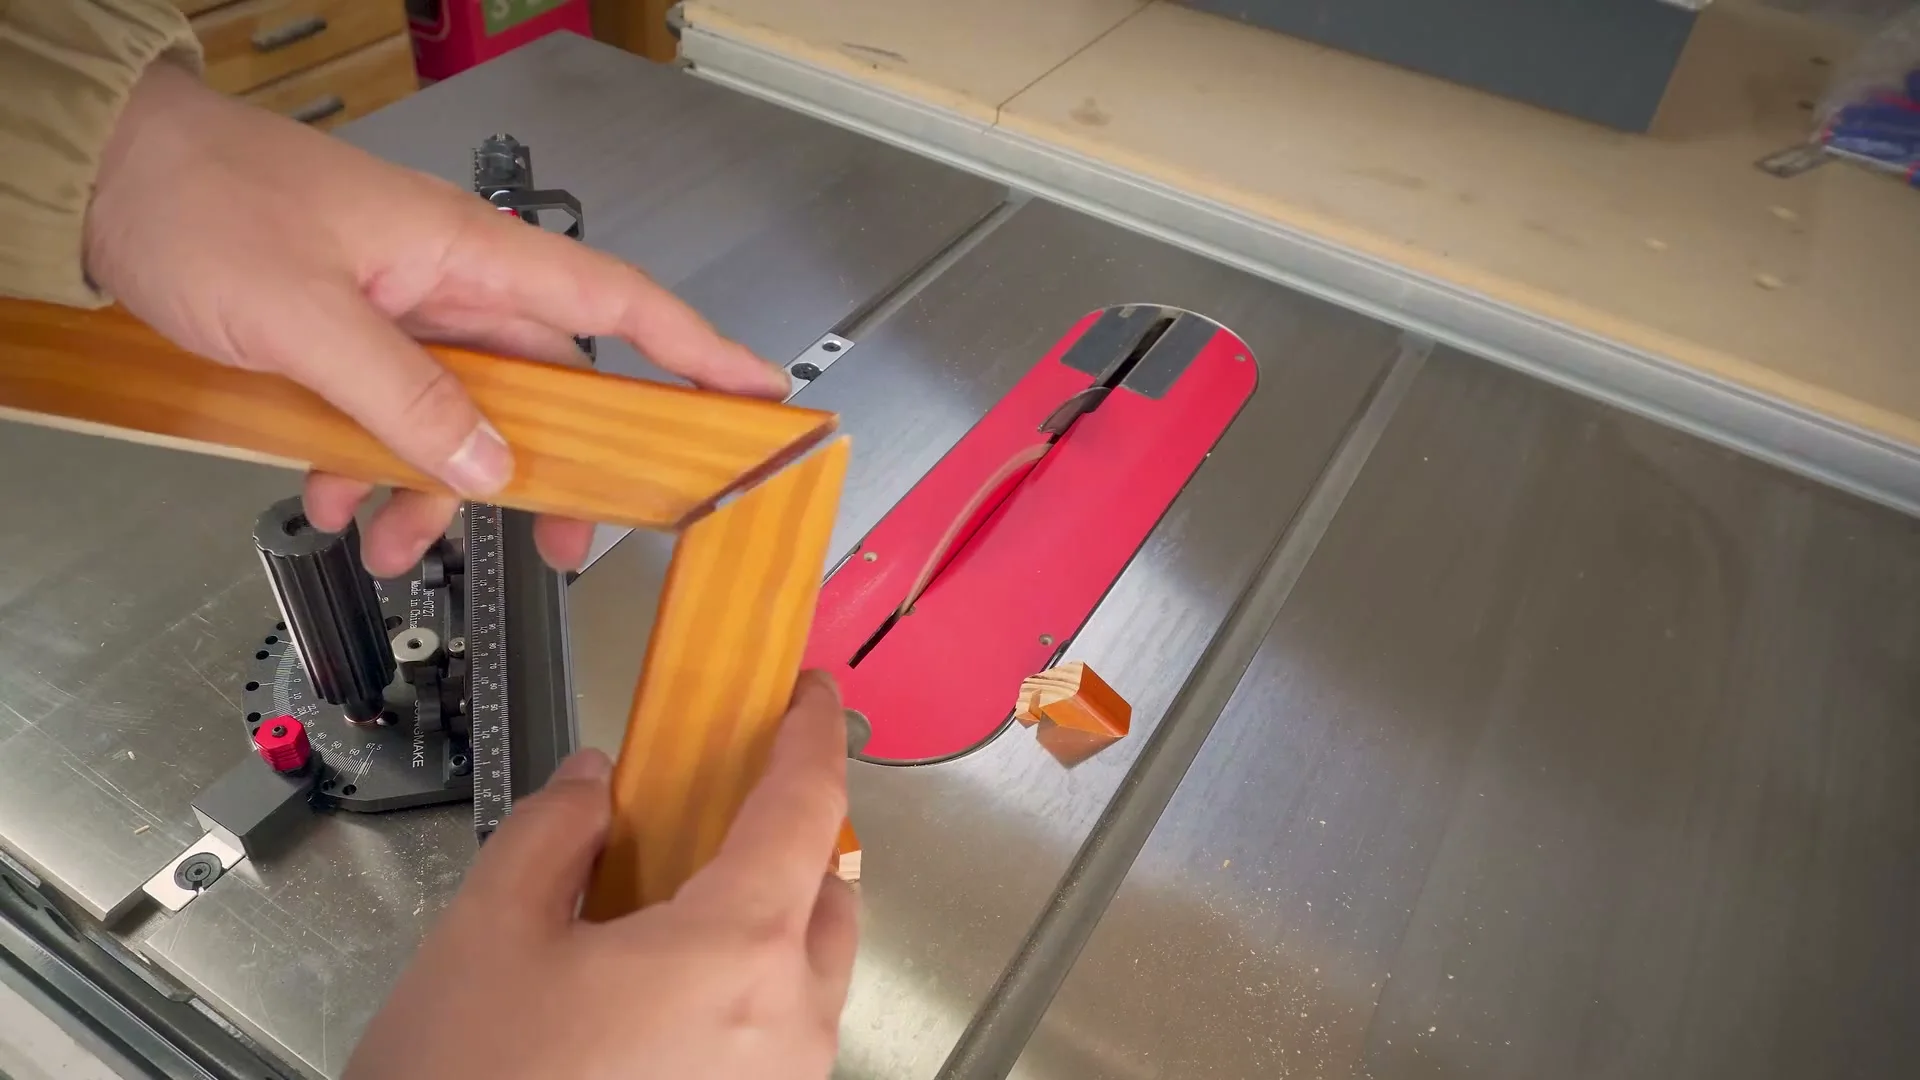
- A thin rip jig sets each strip on the outside of the blade, so the strip falls free instead of riding between blade and fence.
- Our Thin Rip Jig reaches 2-5/8 to 8 in from the slot center to the blade and sets strips as thin as 1/32 in.
- After every cut the board goes back against the bearing, and each strip comes off the size of the first.
- The Track Saw Parallel Guide turns a guide rail into a rip fence for repeat widths from 0 to 53 in.
- OSHA calls kickback a major cause of saw injuries and more likely when ripping, so a push stick and a side stance go with both setups.
Why thin strips go on the outside of the blade
Set the rip fence an eighth of an inch from the blade and the strip you cut ends up trapped in the narrowest gap on the saw. It rides between the spinning blade and the fence, with nowhere to go but forward or back. Your push stick has to work in that same gap, a finger width from the teeth.
OSHA's woodworking eTool for table saws describes what goes wrong there. Injuries happen when the hands slip while feeding stock or are held too close to the blade. Kickback, the blade catching the stock and throwing it back toward the operator, is a major cause of injury, and the eTool says it is more likely when ripping than when crosscutting.
Cutting on the outside of the blade changes the geometry. The wide board stays between the blade and the fence, where it has room and support. The strip comes off the free side of the blade and falls away from it. That is the whole idea behind a thin rip jig: it moves the measuring point from the fence to the far side of the blade.
How the GOINGMAKE Thin Rip Jig sets each strip
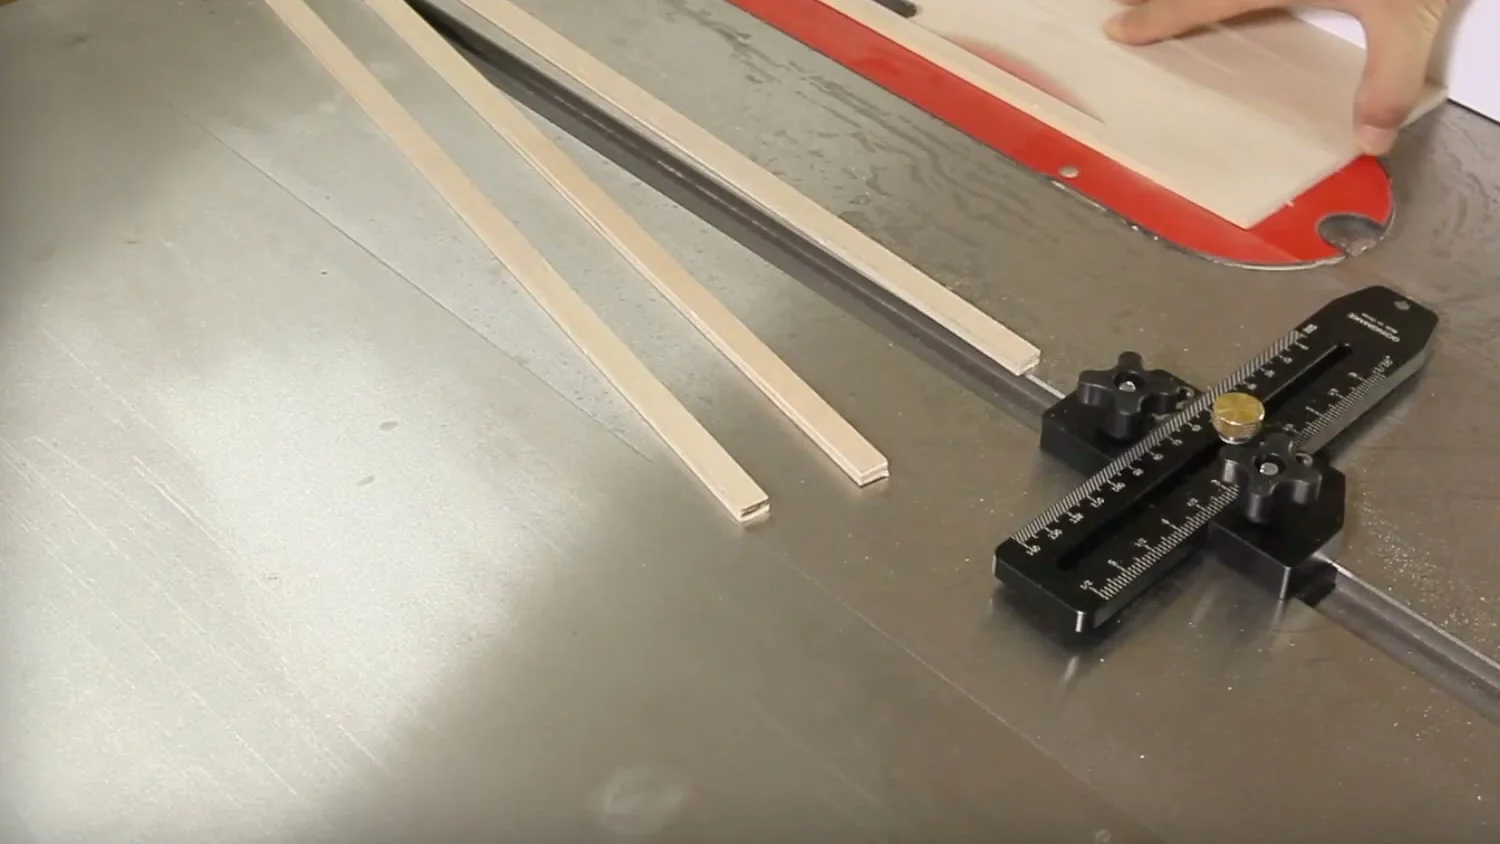
The jig slides into the miter slot in front of the blade and locks there. It fits a 3/8 x 3/4 in slot, T-shaped or U-shaped, and the smaller 1/4 x 3/8 in T-slot found on some saws and router tables. From the slot center it reaches 2-5/8 to 8 in toward the blade, so measure that distance on your saw before you order.
At its tip sits a one-way roller bearing. The board can roll forward past it toward the blade, and the bearing does not turn the other way. Your board edge touches the bearing, the blade cuts the strip off that edge, and the scale on the jig tells you how thick the strip will be.
Set the scale once. Bring the bearing close to the blade, move the scale indicator to the nearest mark, then set the strip thickness you want. The engraved scales read in inches and millimeters, and the brand gives 1/32 in as the thinnest strip the jig sets.
A thin rip routine that repeats
The routine below is the same for the first strip and the fortieth. Only the rip fence moves between cuts, and it always moves the same way.
- Lock the jig in the miter slot on the far side of the blade from the rip fence, with the bearing just ahead of the blade.
- Set the bearing to the strip thickness on the jig scale.
- Slide the board and the rip fence over until the board edge touches the bearing, then lock the fence.
- Stand to the side of the blade and feed the cut with a push stick, keeping your hands out of the line of the cut.
- Unlock the fence, slide board and fence back to the bearing, lock, and cut the next strip.
Each pass makes the board narrower, so the gap between blade and fence shrinks as the stack of strips grows. When the board left in that gap gets too narrow to push with a stick, stop and start a fresh board. The jig also works on a band saw and a router table, with the same bearing and the same scale.
Ripping sheet goods with a track saw parallel guide
A full sheet of plywood is heavy, floppy and awkward to push past a table saw blade alone. Many shops break sheets down on the floor or on a cutting table with a track saw instead. The trouble is repeat widths: every cabinet side has to be measured, marked and lined up with the rail by eye.
A parallel guide fixes that. It clamps to the guide rail and holds the rail at a set distance from the panel edge, just as a rip fence holds a board on a table saw. Set the width once, and every rip in a stack of cabinet sides comes off the same.
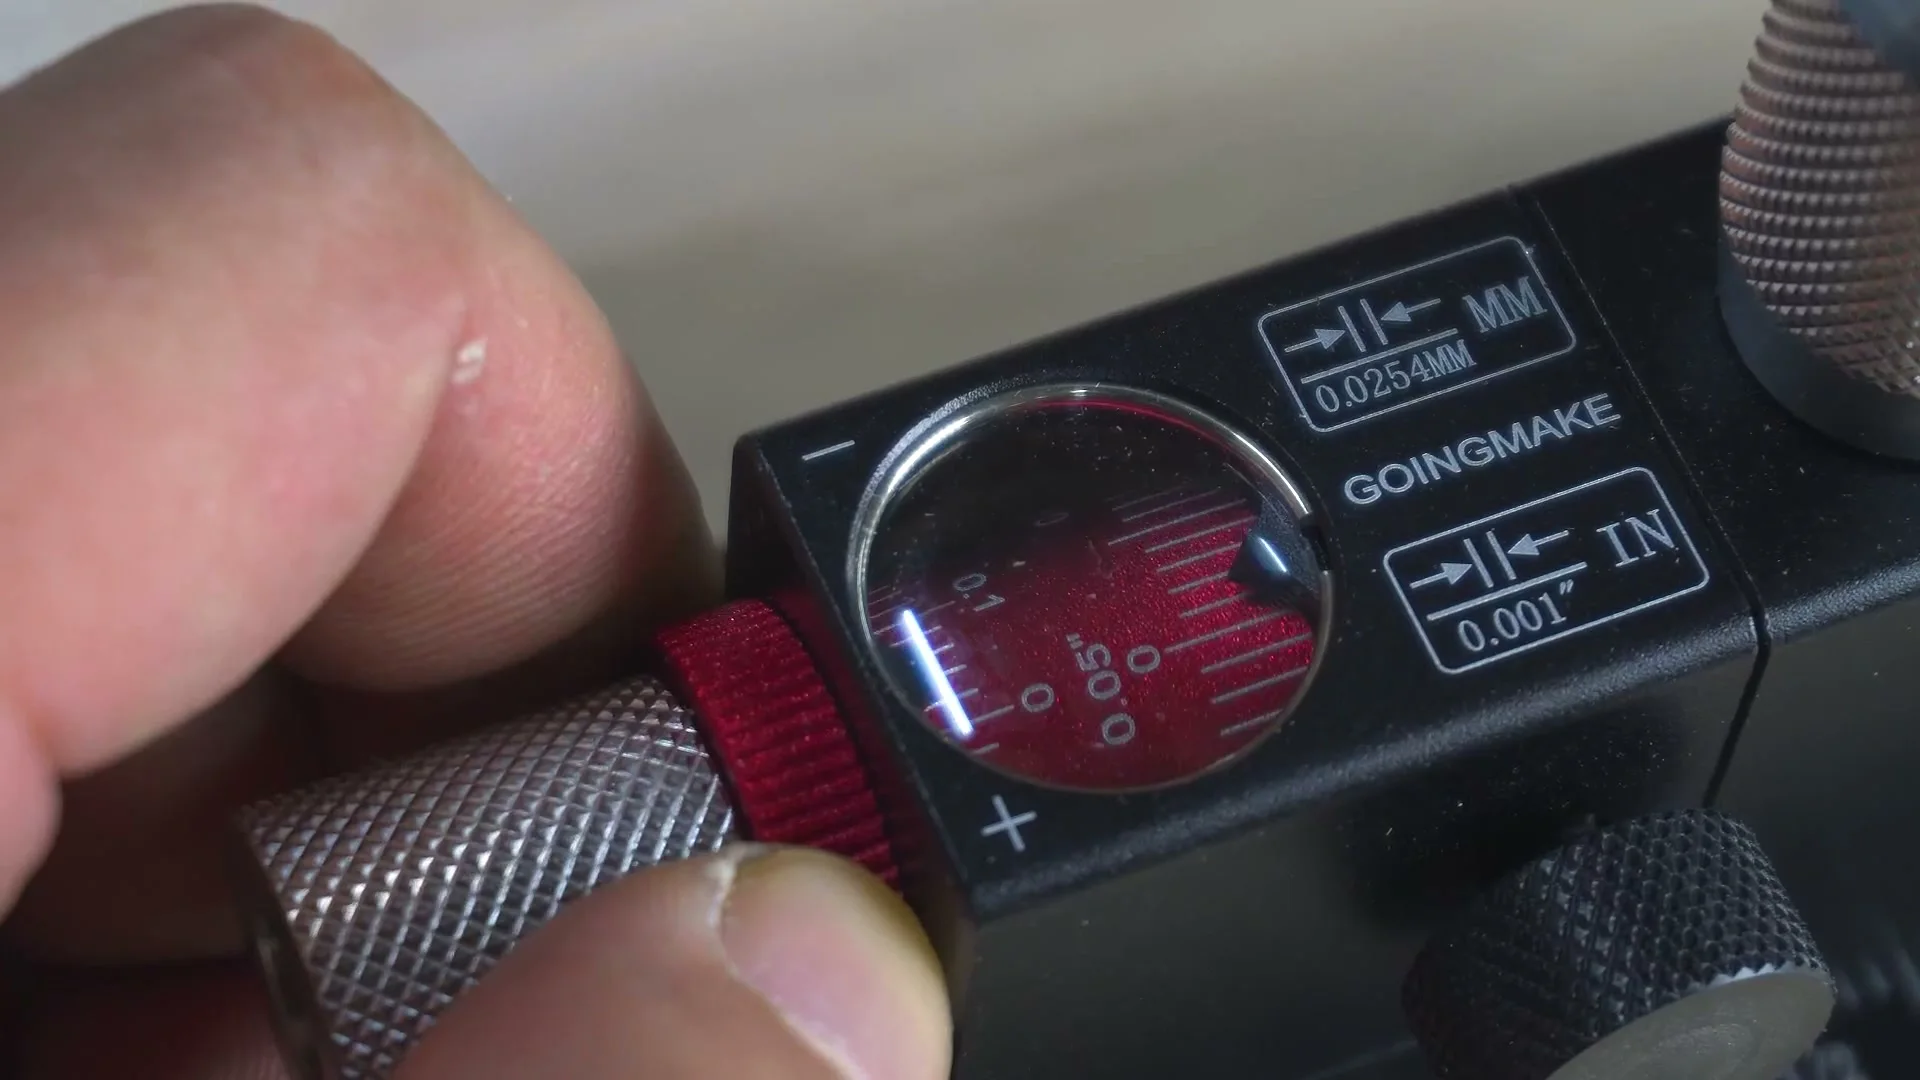
Our Track Saw Parallel Guide System rips from 0 to 53 in, or 0 to 1350 mm. In inches its standard scale covers 12 to 53 in and its narrow scale 0 to 12 in. The metric scales run 300 to 1350 mm and 0 to 300 mm. The flip stop moves in 0.001 in steps, and the guide fits Festool, Makita, Milwaukee, Triton, Powertec and WEN guide rails.

The kit comes with 2 connecting brackets, 8 T-tracks, 2 flip stops, 12 track connectors and 2 extension rods. You use 1 to 4 tracks per side, depending on the width. Two tracks keep the guide compact for drawer parts and shelves. Three handle most cabinet sides, and four reach the full 53 in.
Zeroing the guide and cutting the panel
Zero the guide before the first cut, and it holds that zero cut after cut. Slide the connector inserts into the guide rail and lock them square. Fit each T-track to its bracket until it touches the bracket edge, then lock the screws. Slide a flip stop onto each track and attach the calibration rod. Finally move the stop and its head to touch the edge of a square, and turn the zero-calibration knob until the indicator sits on 0.
The Parallel Guide with Magnifier puts its magnifier pointer on the same plane as the scale. Reading straight down rather than at an angle keeps you from setting a rip a line off on a long scale. Both guides use separate imperial and metric scales, so nobody has to convert.
OSHA's woodworking eTool for handheld circular saws applies at the panel too. Keep your hands out of the line of the cut, use the proper blade for the cut, and keep the blade maintained and sharp. The eTool says kickback is more likely when ripping. It also asks for clearance under the stock and for support of every piece, the cut and uncut ends and the scrap alike. On a sheet that means a cutting table, foam board or sacrificial strips under the whole panel, so neither half sags into the blade at the end of the cut.
Which tool for which strip
The two jigs overlap less than it seems. The thin rip jig works on boards at the table saw, where the strip is narrow and the board is long. The parallel guide works on panels, where the width is large and the sheet is too big for the saw table.
| Buy | Thin Rip Jig | Track Saw Parallel Guide |
|---|---|---|
| Job | Repeat thin strips from a board | Repeat rip widths from sheet goods |
| Range | 2-5/8 to 8 in from slot center to blade | 0 to 53 in (0 to 1350 mm) |
| Finest setting | Strips from 1/32 in | Flip stop in 0.001 in (0.0254 mm) steps |
| Mounts in | 3/8 x 3/4 in T or U slot, 1/4 x 3/8 in T-slot | Festool, Makita, Milwaukee, Triton, Powertec and WEN rails |
| Scales | Inch and mm, laser engraved | Separate imperial and metric, standard and narrow |
| Works on | Table saw, band saw, router table | Track saw guide rail |
Both live on our saw jigs shelf, next to the dial indicator that squares the blade to the slot. If the next cut after the strips is a crosscut, our miter gauge guide covers fence length and repeat stops.
The injury record behind the push stick
The U.S. Consumer Product Safety Commission counted the cost in a 2023 notice. It estimated 26,500 emergency department-treated table saw blade-contact injuries in 2017, 96.4 percent of them to the finger, among them about 16,100 lacerations, 5,500 fractures and 2,800 amputations.
The notice names the standard safety devices as blade guards and kickback-prevention devices: splitters, riving knives and anti-kickback pawls. Since January 2010 the voluntary standard has required new saws to carry a modular guard and an anti-kickback device on a riving knife. The Commission wrote that the injury data still suggested no reduction.
A jig does not change that record, and none of ours makes a saw safe. What a thin rip jig changes is where the strip ends up and where your measurement comes from. The guard, the riving knife, the push stick and your stance at the side of the blade still decide how each cut goes.
Each jig above is in the GOINGMAKE jig line, with its price and box contents on its own page.